Guide: Settings for Correct Adjust Attribution
In this comprehensive marketers guide, we will focus on ensuring proper Adjust attribution setup.
As we have previously prepared a guideline for AppsFlyer and covered the “What Is an MMP and Why Do Apps Need It?” topic—we will continue our MMP guideline series with Adjust.
Table of Contents
Since all of the MMPs have different connection paths and setting, for more information on Adjust SDK for developers, refer to Adjust’s documentation.
Adjust Attribution: Starting Point
When Adjust SDK is correctly implemented, follow the steps below to leverage Adjust!
Follow the step-by-step images to make sure you are on the right path.
1. First, you will go to All Settings.


2. After that, you will go to the Attribution section.


Moving on, let’s focus on each step in detail.
1. Determine the Default Attribution
Adjust has the option for default settings that the attribution configuration will be applied on both Android trackers and iOS trackers for every tracker/partner you create. You can, of course, change the Adjust attribution of specific tracker/partner in tracker settings.
Tip: Make sure that all advertising partners and additional trackers have the exact same attribution window setting to compare the partners fairly—usually, 7-day click and 1-day view.
Next, set the click-based attribution Device matching to 7 days and impression based to 24 hours.
Moreover, ensure that temporary attribution is off unless your app or campaigns require otherwise. Temporary attribution disables the lifetime attribution of post-install in-app events to specific clicks. If you enable it, in-app events beyond the timeframe you select will be attributed to organic.


2. Determine the Default Re-Attribution
Moving on, the Reattribution on Adjust (on AppsFlyer, this term is used slightly differently) refers to a set of timeframes that determine the new marketing source (retargeting) of in-app activities from inactive users. The user should have previously installed the app for Adjust reattribution to work.
In addition, all the settings here (inactivity period, reattribution window) depend on your app’s specific features. The question you have to ask yourself here is, “what is the maximum timeframe that your app users must be away from your app to be considered “inactive”?
Feel free to go ahead and consult with your PoC and find the best possible reattribution settings for your case.


3. Partner Integrations
For each Operating System (Android, iOS), go to Partner Setup and find the channels you are advertising on. You can see some specifics below.


A) Setup Meta Ads
In this step, please note that if you have never connected Adjust to Facebook before, you first need to add Adjust in Facebook Events Manager.
Moving forward, when it comes to this part of Adjust attribution, let’s see the specific steps for Meta Ads below:
- Click ADD PARTNERS, and find Facebook
- Enter Facebook App ID (same for both Android and iOS), which you can find on Facebook Developer Page
- Enable In-App Revenue if applicable
- Enable Reattribution tracking if applicable
- Enable Uninstalls / Reinstalls if tracked on your plan
- For CCPA, consult your legal team if you advertise in the United States
- Click on Event Linking and Map in-app events postbacks (send all the events if possible)
- For cost and SKAN setup, go to Partner Ad Accounts and find Facebook
- ADD Account and Login to Facebook and select the correct ad account
- On the Facebook events manager, disable Facebook SDK for iOS to prevent Adjust SDK and Facebook SDK from interfering with each other (see conversion studio section)


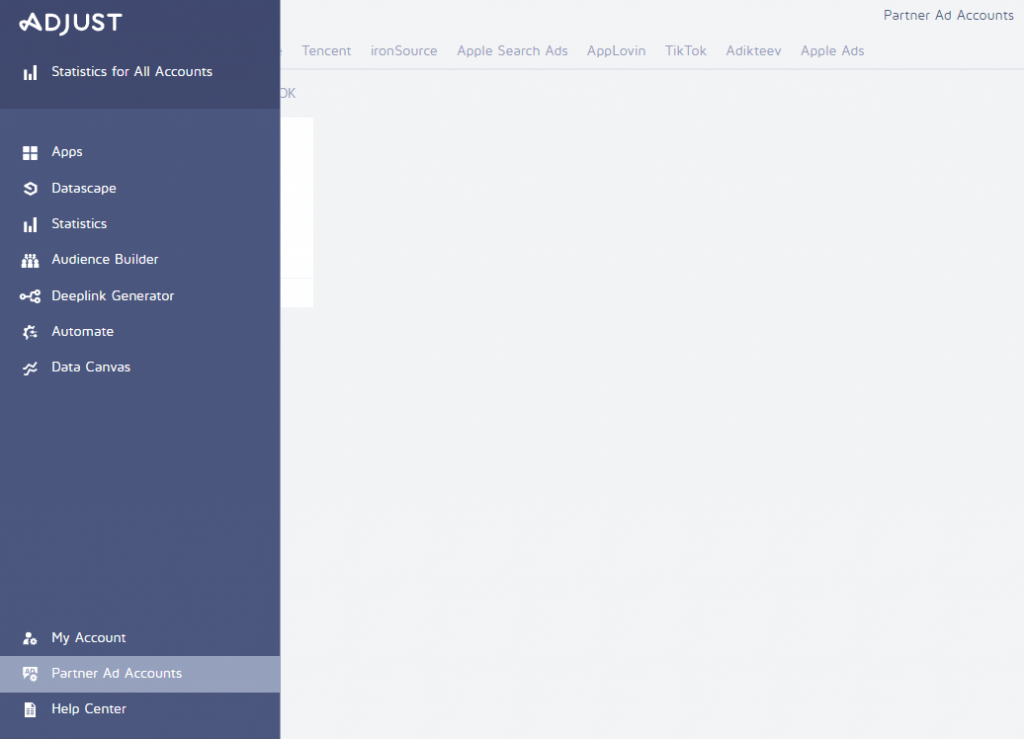


B) Setup Google Ads
- Click ADD PARTNERS, and find Google Ads.
- Enter the Link ID which you gathered from Google Ad Account (Linked Accounts) for both Android and iOS
- Turn off the Google Ads Attribution window. Otherwise, it will override the default Adjust attribution setting
- Enable In-App Revenue if applicable
- Enable Reattribution tracking if applicable
- Click on Event Linking and Map in-app events postbacks (send all the events if possible)
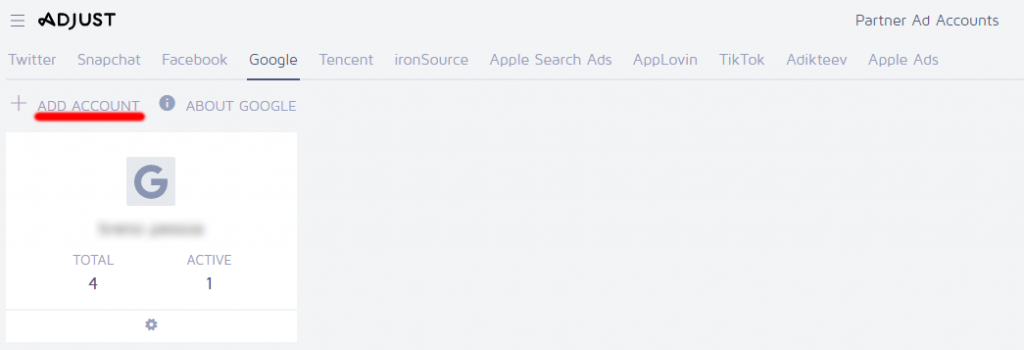
- For cost and SKAN, go to Partner Ad Accounts and sign in with a Google Ad Account
- Go to the Conversions tab on Google Ad Account and import the events you mapped





C) Setup TikTok
- Click ADD PARTNERS, and find TikTok for Business (Network). For SAN setup, please see here
- Enable Sessions forwarding
- Enter the TikTok App ID that you gathered from the TikTok Events Manager
- Disable “Attributed Only” in order for TikTok to populate more users
- Enable In-App Revenue if applicable
- Click on Event Linking and Map in-app events postbacks (send all the events if possible)
- Go to Tracker URLs and click New Tracker
- Enter tracker Name as TikTok
- Select TikTok for Business
- Click customize and then create
- Go to TikTok Events manager and copy the attribution links
- For cost and SKAN, go to Partner Ad Accounts and sign in with TikTok


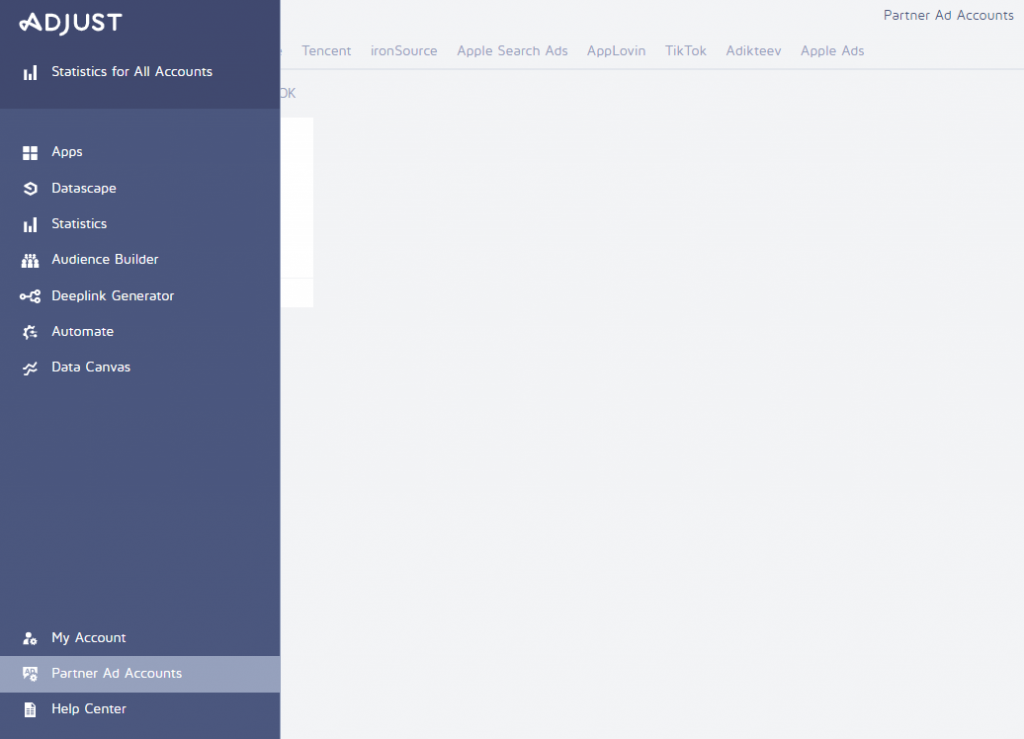


D) Setup Apple Search Ads (iOS Only)
- Consult your developer and make sure that the AdServices framework is implemented on your Adjust SDK.
- After ensuring that the AdServices framework is implemented, go to Partner Ad Accounts, find Apple Ads, and log into your Apple Search Ads account.


4. Configure SKAN Conversion Mapping (iOS Only)
In this step of the Adjust attribution article, it is important to know that Adjust’s Conversion Value Management Tool helps you configure post-install in-app/revenue data attributed to SKAN campaigns. In addition, each app has its own unique needs when it comes to SKAN conversion mapping.
Moreover, the most important thing here is knowing the limitations that SKAN currently has (SKAN 4.0 will improve some restrictions).
Mobile Measurement Partner Adjust offers Custom Mode mapping along with predefined Conversion, Revenue, and CSV modes.
Here, you can consult with your PoC and discuss the best ways of leveraging SKAdNetwork Conversion mapping for your app. Make sure to be realistic about what events, funnels, or revenue data you can have within the activity timer and ”0 to 63” bits limits.
After configuring the Conversion Value mapping, connected Paid UA partners will automatically pull the new setting.


Additional Adjust Attribution Tips
For these other Adjust attribution tips, we want to remind you that the Mobile Advertising ecosystem is constantly changing. As a result, you should maintain your MMP’s SDK up to date at all times.
To compare channels properly, ensure that all marketing channels and other trackers use the same attribution window setting. Moreover, if you need to add a new tracker or channel, apply the same attribution (7d click, 1d view).
Furthermore, avoid changing the names of campaigns, ad sets, or ads after they have begun to deliver. Altering the names may have a harmful impact on the Adjust display.
Download our ultimate tracking and MMP setup checklist. Our expert consulting team worked hard on every single detail. Therefore, you will be 101% sure that you are on the right path.
Conclusion
To circle back, MMPs are critical for accurate mobile attributions in order to grow paid user acquisition operations. Furthermore, these platforms provide the tools required to track, examine, and take the necessary steps.
Mobile Measurement Partners, on the other hand, require essential setup steps involving developers and marketing specialists. In addition, they can perform miracles and open new doors when properly configured.
Do you need help tracking your app marketing activities correctly and making the most of your MMP? Start by getting in touch with us.
FAQ
How Do You Adjust Impression Attribution?
As per Adjust, you select All Settings > Attribution > Impression Based Device Matching or Impression Based probabilistic modeling. Here you will turn on (or turn off) device matching for impressions or probabilistic modeling for impressions. Set an attribution window and Select SAVE.
What Is Adjust Marketing?
Adjust is the mobile marketing analytics platform used by growth-driven marketers around the world, offering solutions for campaign measurement and optimization as well as user data protection. It is essentially an MMP.

